Zum Inhalt springen
Hannah-Arendt-Gymnasium Haßloch
Suchen…
Suche starten
Menü
Über das HAG
Unterricht
Angebote
Personen
Ganztagsschule
Veranstaltungen
Kontakt
Seiten
Sie können auch mit den Pfeiltasten zum nächsten oder vorigen Bild navigieren.
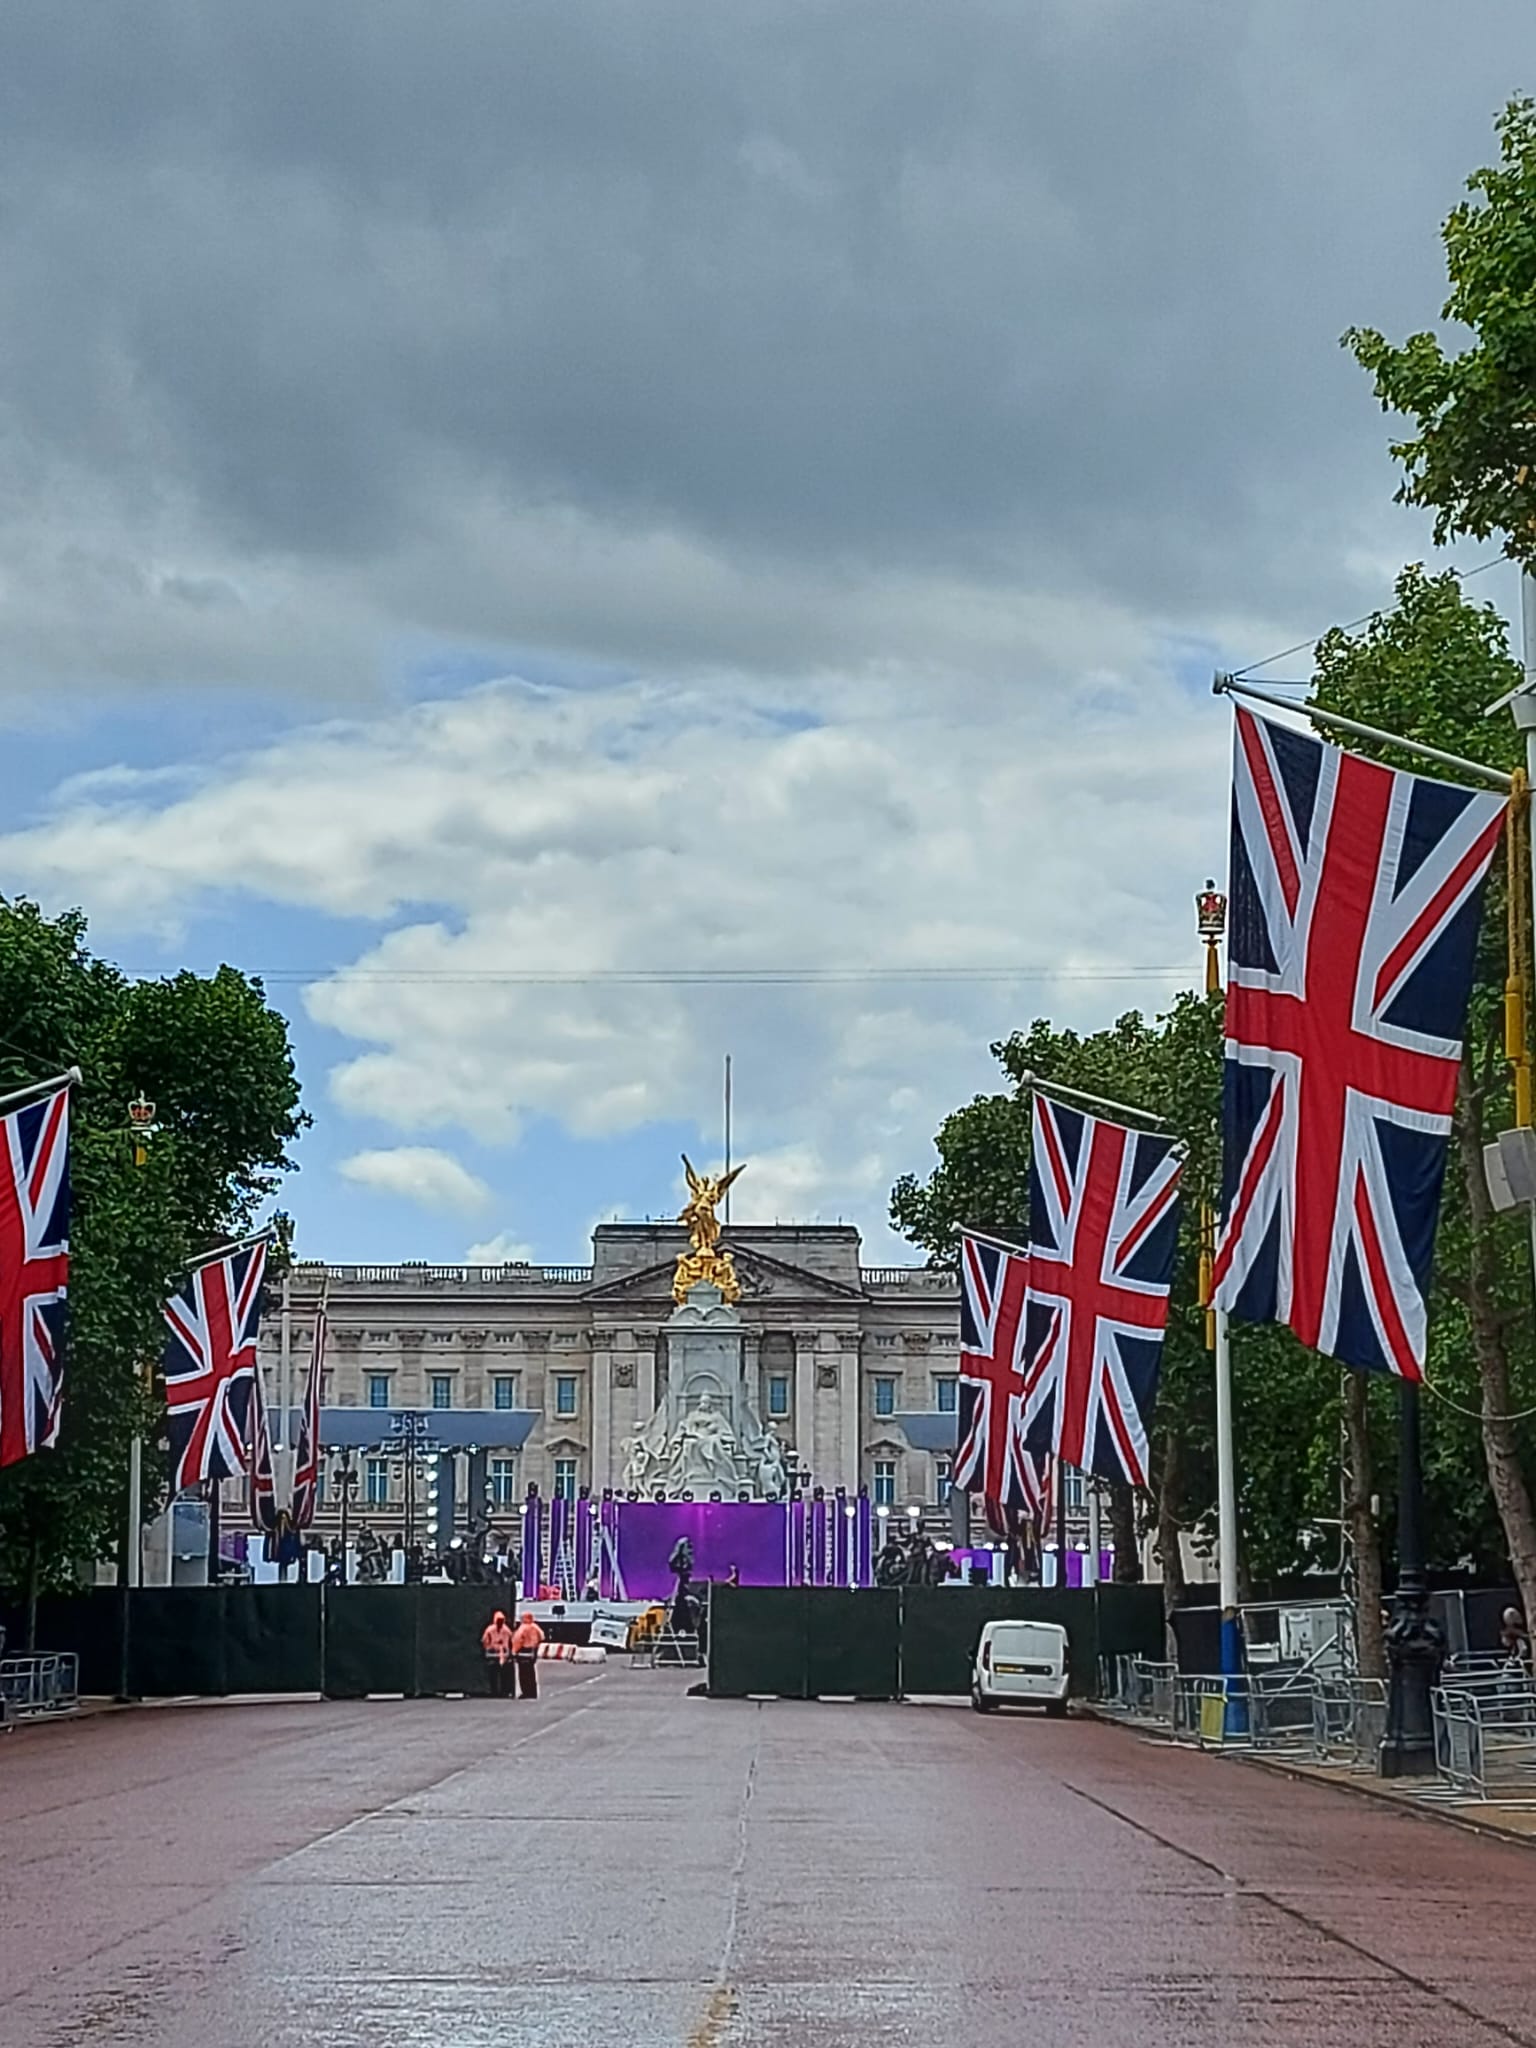
Galerie: Hastings
Weiter
Zurück
Bild
9
von 12
1
2
3
4
5
6
7
8
9
10
11
12